Electrical engineers are engineers who develop different things that use electricity, and ways to generate and store electricity. Subjects in electrical engineering include power generation, automation and control, semiconductors, and information technology (radio waves and computer).
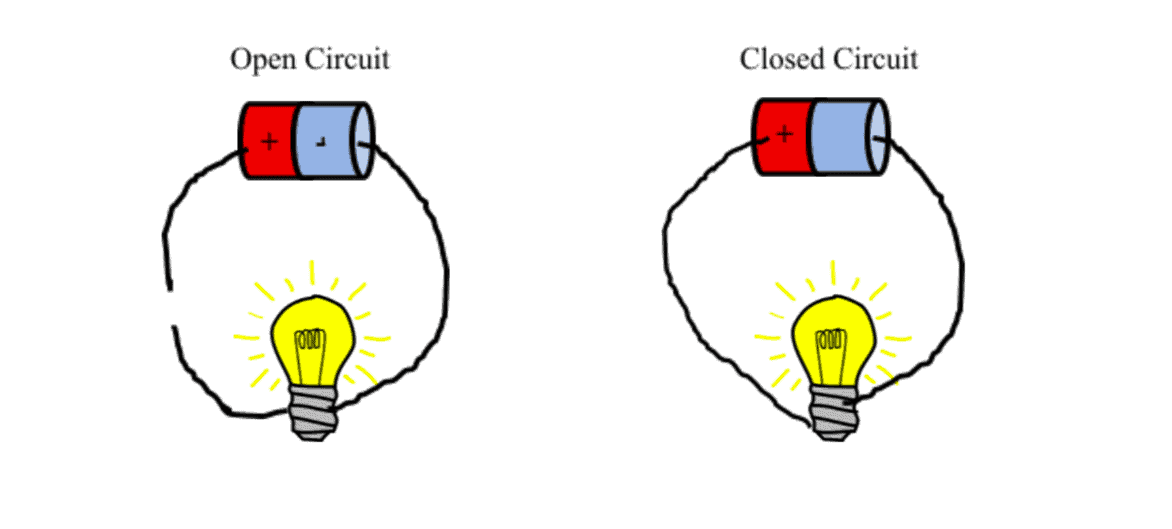
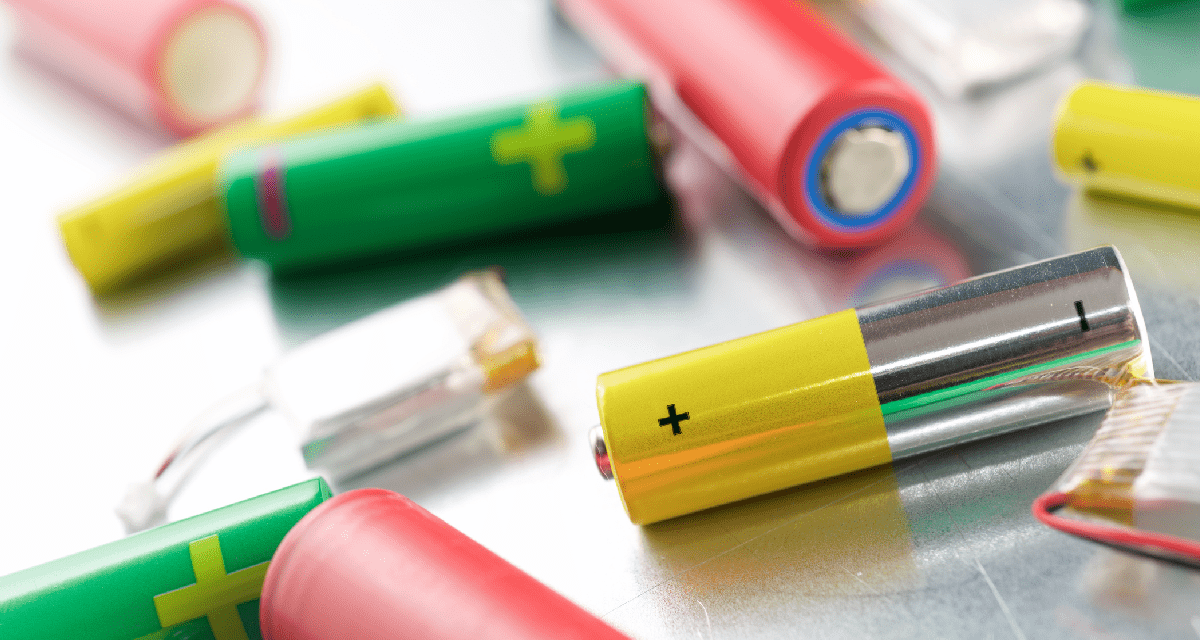
Electricity is a form of energy that comes from charged particles. In nearly all electrical devices, negatively charged particles called electrons flow along a wire to create a current which is used to power the device. When batteries are connected within a circuit, electrons want to flow from the negative electrode (called the anode) to the positive electrode (called the cathode) creating the current that will power the load.

Within a battery, a separator is placed between anode and cathode to keep the electrons from flowing directly from one electrode to the other, forcing the electrons to flow along the external wire and power our devices. Another substance, called an electrolyte, is also placed between the anode and cathode. The electrolyte promotes the chemical reactions which will cause the anode to become negatively charged and the cathode to become positively charged.
We’re going to build our own battery, where the anode is aluminum foil, the cathode is a penny, the separator is a paper towel, and the electrolyte is vinegar.
Materials and Equipment
- Pennies (at least 6)
- Aluminum foil
- Paper Towel (1)
- Vinegar
- Duct Tape
- LED Light Bulb (You can get them here.)
- Alligator Slips (*To use foil instead of clips, cut two strips each 6″ long and 3″ wide. Fold each one tightly along the long edge to make a thin strip. Or, you can get alligator clips here.)
- Scissors
- Voltmeter (optional, you can get one here.)
Building the Battery
- Cut a square piece of aluminum foil about three inches (8 cm) per side. Exact dimensions are not important.
- Fold the aluminum foil into a square about one inch (2.5 cm) on each side. Again, exact size is not important, but the square piece of aluminum foil should be a little bigger than a penny.
- Cut a piece of paper towel about three inches (8 cm) per side and fold it into a square the same size as the aluminum square.
- Rip a piece of duct tape about the same width as the paper towel square.
- Layer the penny, paper towel square, and aluminum foil squares on top of the duct tape. The penny should stick out from the duct tape slightly. Line up the paper towel with the duct tape edge on the penny side (and be completely covered on the other side). The aluminum foil should hang over the other end of the duct tape and should not touch the penny at all.
- Fold over the duct tape to hold the 3 layers together to make your DIY Battery.

- Layer the penny, paper towel square, and aluminum foil squares on top of the duct tape. The penny should stick out from the duct tapeslightly. Line up the paper towel with the duct tape edge on the penny side (and be completely covered on the other side). The aluminum foil should hang over the other end of the duct tape and should not touch the penny at all.
- Fold over the duct tape to hold the three layers together to make your DIY Battery.
- Repeat 6 times so you have 6 packets. These are your batteries!
Testing Battery Capacity
- If you have a voltmeter, you can test the capacity of your batteries to see how much energy they generate.
- Add a few drops of vinegar to the paper towel to act as the electrolyte. Your battery is complete!
- With the voltmeter, connect the positive, red lead to the copper penny and the negative, black lead to the aluminum foil. Turn the dial to the lowest voltage setting. Your battery should measure in the vicinity of half a volt.
- If you don’t have a voltmeter, you can skip the testing phase and move to the next step.
Using Your Batteries!
- Connect all six of your batteries in series by attaching the penny of one battery to the aluminum foil of the next with duct tape.

- Use alligator clips to attach the ends of your battery series to the LED. Remember that an LED is directional. You will most likely need to attach the long leg of the LED to the penny end. Then attach the short leg to the aluminum foil, but if it does not work, try switching the leads. If you don’t have alligator clips you can use thin strips of aluminum foil (see materials list for description) and duct tape to secure your circuit.
- If your LED doesn’t light up and swapping ends doesn’t work – you may need more power. Build a few more batteries and add them to the circuit to see if that makes the LED light up!
Author
-
Heather Sheridan P.E., PMP is a Civil Engineer and Project Manager at Black & Veatch in the Hydropower Department. Heather has a BS in Civil Engineering from the University of California, Davis with a focus on hydraulic structures and environmental design.


